

How To Put On Makeup Dominque
When you are a woman in her prime yous have the dear and acceptance of who and what you actually are. But as the years go by, our skin starts to lose collagen and elastin, which hold the structure of our complexion. It becomes saggy, no longer plump and firm as it used to be in our younger years. Our features are dragged downwards, giving the states a more than tired, worn out, or even distressing appearance – and so the makeup routine nosotros used to practice when nosotros were in our 30s or 40s needs to adapt to work with these changes.
This is where a well-placed makeup can make all the divergence in the world. I am all for procedures such as injecting fillers or Botox, which I wrote near my own experiences, but sometimes, makeup tin practise wonders if you know some tricks and secrets!
Placement is everything; it can lift those features upwards and requite a rested and fresh expect. It'southward equally of import to empathize the color theory – while darker colors make an area await more receded, a lighter one will attract attention and get in announced plumper.
In this article I will show you the correct and the wrong means to apply makeup on a mature face up, real tips from somebody who's really over fifty – I too include one of my most viewed YouTube tutorials that shows y'all exactly what the ability of these lifting makeup tricks tin can do, viewed by millions of women.
For the sake of demonstrating the best and the worst manner to use makeup, I've "split" my face up in two.
On the right half of my face, you will see the common mistakes we make that get the states looking more dragged down.
On the left side, I volition show you facelift makeup to wait younger, awake, and very fresh.
You will also notice recommended products for each area of the face, ones that I've tried and loved. Be sure to check them out and have fun trying these makeup techniques!
Allow's get to the tips:
How to Utilize the Perfect Base on Mature Peel
When doing the perfect makeup base, moderation is key. Layering on product afterward product, never giving them the run a risk to settle into the skin, will give that cakey, overdone look. More importantly, putting too much on will make you await older since excess makeup tends to settle into wrinkles and emphasize imperfections.
When starting your base, you need to consider your skin type and condition, plus what you're trying to achieve. While mature skin is not a skin type in itself, information technology does have some particularities – y'all observe information technology'due south more than dry out, lifeless, and deadening, with wrinkles. The natural face contour is also less divers or firmed.
A fresh-looking makeup base is essential for a youthful appearance every bit we get older. This ways choosing products with a dewy, glowing end that concenter light to your complexion. Here is a list of what I believe are the best foundations for mature skin.
Application is too key – yous want to use a moderate amount, whether information technology'southward foundation, powder, or concealer, and blend them in seamlessly.
Wrong application:
I will beginning by non putting on any primer on one-half of my face. This is a mistake since primer creates a smooth base for the other products and makes your makeup concluding longer. Depending on the primer yous use, it tin can besides exist a bit tacky for a better foundation grip, hydrating, or highlighting particles.
I tin go on with my foundation and apply a large corporeality that I simply blend superficially. This will already give me a cakey await, plus emphasize pores and fine lines. In the under-middle area, I'll soap on too much concealer, a mutual mistake for this delicate area. It'south very decumbent to wrinkles and very mobile, and then when you lot have a creamy product, it tends to pucker; put a big corporeality of that concealer on, and you have yourself a definite mess on your easily.
I'll top my makeup with excess powder that clings to whatever dry out spots and gives you a dull, lifeless appearance. I didn't practise myself any favors by making everything so matte – the dehydrated wait will make me wait older and show imperfections
Right application:
I start past applying my primer this time. For this sit-in, the i I use has a blurring outcome that makes the pores and wrinkles less noticeable. Don't put too much on, as excess layers that don't absorb well into the pare might cause your makeup to slide off instead of lasting longer.
Adjacent comes the foundation later letting the primmer properly blot. Choose a luminous foundation with a dewy or satin finish because this will be more flattering and give you that youthful glow. I start past applying a light layer and blending it well, pressing it onto the peel with a brush or clammy makeup sponge. You tin can ever add more in certain areas if need exist, but taking off excess is not easy.
At present follows concealer that I use sparingly, only on pocket-size areas where I need extra coverage or specific spots. Again, we don't want to give that base too much product and ruin that light base we've been working on so far.
I will apply a fine translucent powder to set up the creamy products in identify and make the makeup last longer. This will also create a polish base for other pulverisation-based products to be layered on, such as blush or profile.
When trying to achieve a perfect base for a mature woman, go for that seamless alloy and glow-from-within look. You will take years off your complexion and expect very fresh by doing this.
Recommended products:
- GLAM 35 New!!! AGE Mistiness Confront Base:
- NARS Soft Matte Complete Foundation:
- NARS Soft Matte Complete Concealer:
- Laura Mercier Translucent Loose Setting Pulverisation:
How to Exercise the Perfect, Lifted Brows
The brows have a lot to do with 1'south facial expression. When they are too high, they make us expect similar we're always surprised or amazed past something. When also low and direct across, they requite the states that grumpy and upset advent that no one wants.
Of grade, the way we're born with them plays a role in their overall expect, whether they are thicker, more sparse, blonde, or brunette. But nosotros can always intervene easily when it comes to brows by plucking them, dyeing them with special colors, or using microblading, manipulating form and color.
I have been microblading them for years, and I'm delighted with the results. But I even so use makeup to emphasize them or set up the hairs in place for the day. It's also essential to see what impact the incorrect kind of makeup placement tin take, thus knowing what to avoid.
I will explain some basic techniques below that will help you get that perfect definition of the brows, without making them look besides harsh or elevate your features down.
Incorrect application:
For this particular demonstration, I am using a brow pomade, applied with a flat, angled brush. The nearly common mistake in brows is elongating them too much. By doing this, nosotros are pulling the shape downward, so they get droopy. Information technology's a frequent mistake, especially when we've lost fullness and definition and try too difficult to add form over again.
Filling in the shape too much with a heavy hand and defined lines will make brows seem harsh and boxy. Be certain to choose the correct color for your brows – a cool shade looks more natural, and don't become likewise nighttime because this will make you look older and more than severe.
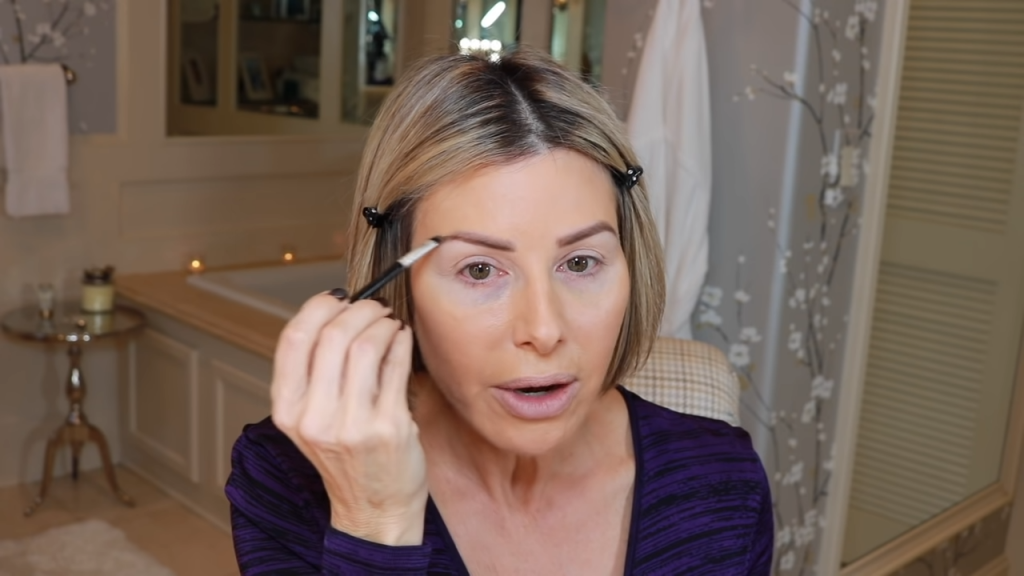
Correct application:
For the good side, I will make full the brow with the same pomade and castor, but this time, with more than frail strokes. The overall consequence volition exist more subtle, and the fullness of the forehead is much easier to control when building intensity slowly.
When I get to that outer portion of the brow, I don't elongate the tail but rather go upward with small brush strokes. Put your brush on the skin, then in i curt move, motion picture information technology upward; don't printing as well difficult on the castor, and y'all'll become a much more subtle and blended effect.
By not dragging the brow down, you get a more lifted issue that volition influence your entire advent. This brow will exist shorter, just this is how you avoid dragging it down and making your eye look droopy altogether.
Recommended product:
- Anastasia Beverly Hills DIPBROW Pomade Waterproof Matte Brow Gel
Utilise Eyeshadow Like a Pro
They say the optics are the window to the soul. But I tin tell you lot for sure that the eyes as well say a lot about 1's age – a droopy centre will ever give you an older and tired advent. Over the years, the sagging of the skin becomes very visible on the eyelids; they become heavier, making it look similar excess skin drooping down over the eye.
The eyes are 1 of the most expressive features; they can exist mesmerizing and say a lot about our mood. This is where well-placed makeup can exercise wonders by lifting and, at the same time, giving depth to your gaze.
So properly emphasizing them can elevate our whole makeup wait. You need to put small accents in the right places to lift and make them seem bigger and more awake. Knowing how to play with low-cal and shadow is essential; you can brand a puffy eyelid await receded past applying a darker colour in the pucker, or you tin attract light and make the eye look more awake by calculation a highlighter in the inner corner.
Wrong application:
Every bit stated above, the eyelid gets heavier as nosotros age, so excess peel creases and droops downwards. Yous don't want to attract more attention by applying light and shimmery colors (information technology will bring more volume to the area and emphasize minor defects, like creasing skin and puffiness).
I will do precisely that for the incorrect side, significant put the lightest shade from my palette across the eyelid. I will continue with a deeper purple rusty color to define the eye. But I'll place that in my bodily crease instead of going a little higher and pulling the eye upward and following the natural eye shape in the outer corner, right down to where it actually ends.
The problem is the eye tends to droop downward, with a circular shape to information technology, so following this natural line drags the whole eye down. And it's a missed opportunity to lift it and make it seem more awake. I'one thousand not blending this very much either, and then harsh lines make everything look more severe.
Side by side, I'll take an fifty-fifty deeper color, this fourth dimension a dark brown, and place information technology just in the outer corner. I'll commencement at the lash line and and so create a V shape, connecting it to the crease; once more, I'll accept information technology to where my eye really ends, so pretty far down, making the eye droop. This is where I blend a little for the two deeper shades to combine, but I don't take it upwards or out besides much, keeping that rounded, downturned shape.
I add a light shimmery eyeshadow on the brow bone, so yous tin can see it'due south a bad thought to draw attention to that brow os. As nosotros age, it becomes more than evident, and puffiness can occur. Applying a highlight attracts the incorrect kind of attending, but adding more book is the opposite of what you want to do.
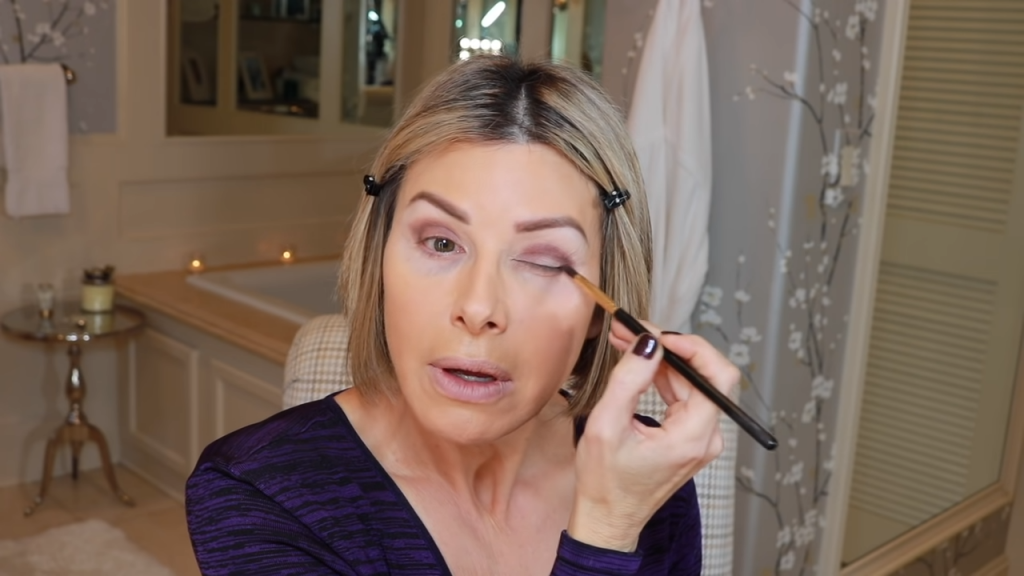
Right application:
What we're trying to accomplish is the exact reverse from the other side of my face up. Everything has to exist low-cal, come up and out, to lift and elongate the centre; a good rule of pollex to follow is – anything that creates droopiness or heaviness is a no-no.
I am not using a light color for eyeshadow because, equally stated higher up, it only brings attention to the saggy pare on your eyelids. Instead, you want to pick a medium shade that creates a more receded effect.
I am taking the same plum color from the palette and putting it all over my mobile lid, in the crease, then dragging it a little higher. This way, y'all volition counteract that heavier eyelid and requite information technology more construction. I won't go all the way downwards in the outer corner, where my bodily top lash line ends, instead of keeping the ending indicate a little higher.
Next, I add together a dark brownish eyeshadow in the outer corner, again keeping information technology higher; this will bring some actress definition and a gradation of colors. E'er try to slowly build the colors' intensity instead of just packing likewise much on from the outset. Otherwise, you volition have excess product and, when you beginning blending, you will drag those eyeshadows all over the place, making everything wait muddy.
Now I start blending with a fluffy brush and gentle strokes; go on them fluid and circular by belongings your brush from the outer part of the handle for less control. This manner, you put less pressure on the castor, making the result smoother.
As I blend, I take the eyeshadow slightly higher than my bodily crease to make the excess peel look more receded and less protruding. I take the products upwards and out in the outer corner, giving the eye an instant lift. Y'all also elongate it this way and requite it that cat-middle result.
For this side, I keep my highlighter right underneath the brow but don't go any lower than that; otherwise, I will draw attending to that orbital bone that protrudes.
For a more in-depth tutorial on how to apply makeup for downturned optics, read our article here.
Recommended products:
- Urban Decay Eyeshadow Primer Potion – Original
- CoverGirl® TruNaked Chocolate Scented Eyeshadow Palette in Chocoholic
Eyeliner Techniques
Using eyeliner can give us more definition of the eyes and a sultry wait. It's often the finishing impact to the eye makeup that pulls everything together. Just you demand to take into account your eye shape, the amount of space available on your mobile lids and the effect yous're trying to achieve.
Depending on the effect y'all want, you tin employ a liquid eyeliner, a gel or foam 1 that comes in a jar, or a pencil. While a liquid eyeliner gives a more dramatic look, a gel/ cream or a pencil are more than forgiving when applying them, and they can exist smudged, for a smokey effect.
Following a few simple steps, y'all can accomplish an amazing and uplifting result. Go along reading to get some tips and tricks to help y'all achieve just that!
Wrong awarding:
I follow upwardly the eyeshadow with black eyeliner and go right on the upper lid, with a pretty heavy line beyond. This puts more heaviness and cuts up too much infinite from your already shrinking eyelid.
I will also go with a dark brown eyeliner underneath the lower lash line, taking it to the most outer corner; this emphasizes the downturn line of the eye and looks also harsh and unflattering.
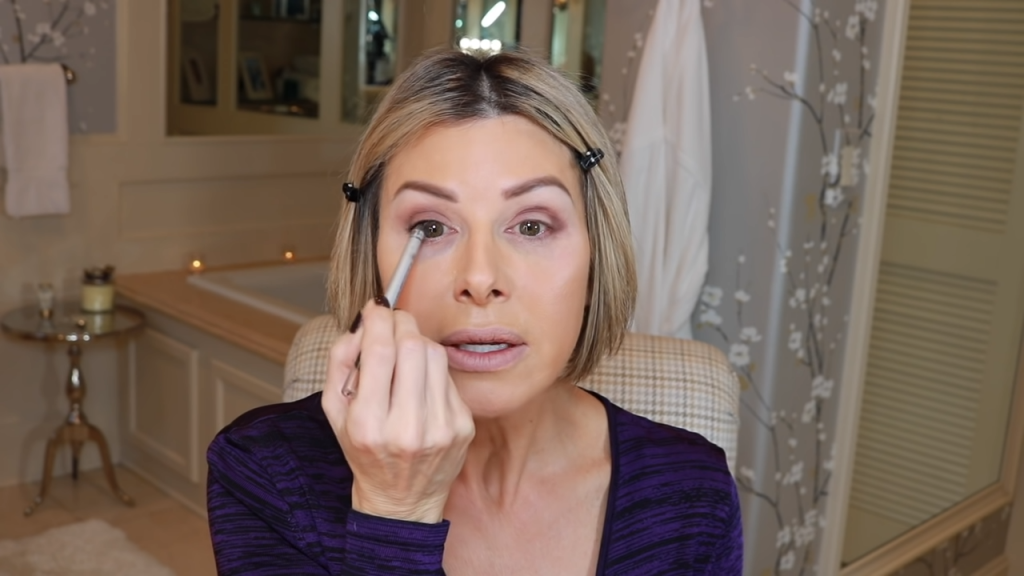
Right application:
For this function, the eyeliner only goes on the upper waterline. This will add definition to the middle without being too harsh. I don't want the pencil on my upper eyelid because that would close off the eye and spoil the open and awake await I want to achieve.
Also, I won't put any eyeliner on my lower eyelid on this side. Y'all can utilise a pencil on the lower waterline when doing a smokey eye, and trace a shadow underneath the lower lash line with a light to medium eyeshadow.
Likewise much darkness on the lower eyelid will make y'all look tired; go for lighter colors, for a fresh and youthful appearance.
Recommended product:
- Wunder2 Super-Stay Liner
Lashes
Whether you lot are the possessor of naturally long lashes or not, they can always be enhanced with mascara, extensions or imitation ones. I also use an eyelash curler, to achieve a wispy effect that opens up the gaze.
Choosing a skillful mascara is of import, but the brush is also essential – a large bristle one will requite you a lot of volume, while a silicone curved one will give you lot a great coil. Whatever blazon you utilise, make certain to supplant mascara every six months, to avoid whatsoever problems, like eye infections.
Wrong application:
I will put mascara on the top and bottom lashes for the wrong side. I'll go in with a heavier manus and more than product on the brush, so the lashes will stick together and look sparse. Also, because at that place's that thick black eyeliner on the elevation lid, the lashes won't stand up upward every bit much, in comparison to that.
I too apply mascara on the lower lashes similar we used to do in the '80s; they look like tiny spider legs. Information technology's non a flattering await, and it draws attention downward, pulling the eye instead of lifting information technology.
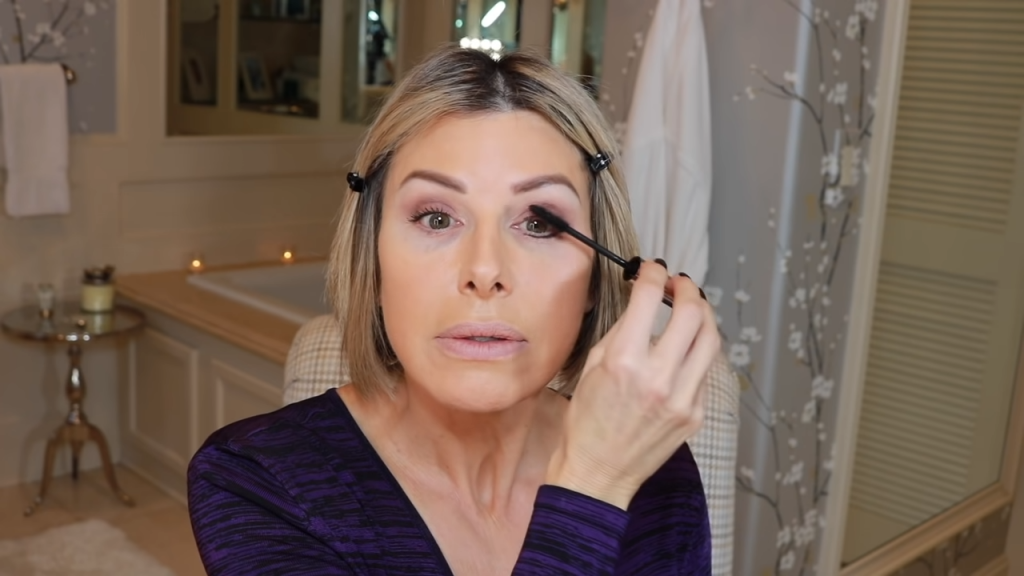
Right application:
On this side, I use an eyelash curler and put a moderate amount of mascara to separate and ascertain those lashes well. I won't apply whatever product on the lower lashes because information technology'southward not at all flattering, equally it'south apparent on the other center.
However, I would go further and apply some simulated lashes, too. I beloved half magnetic ones considering they are effortless to use and give simply the correct terminal impact. I identify them at the outer corner, one on summit and the other below the lashes, as this is how they stick together.
Be careful not to put them right at the outer rim of the lashes, where the eye actually ends, because they will have a descending line. This would elevate out the eye downward altogether, making all our hard work so far useless. Bring information technology only earlier the eye ends for the best result.
At this point, you will see the full effect – the lashes feather out and pull the center upward and open the gaze. Your centre makeup is now complete, and the consequence is a lifted eye that makes yous wait fresh and awake.
Recommended products:
- Bright Dazzler Rose Aureate Eyelash Curler
- Wunder2 Wunderextensions Lash Extension & Curlicue Mascara
- VASSOUL Dual Magnetic Eyelashes, 0.2mm Ultra Sparse Magnet, Light weight & Easy to Habiliment, All-time 3D Reusable Eyelashes with Applicator (8 PC with Tweezers)
Under-Eye Concealer
We all struggle with under-middle numberless or night circles and know how much of a hassle they can be to cover upwardly. These are often a combination of genetics, retaining water, having a more pigmented expanse, or lack of volume. The latter gives a permanent shadow outcome – a more than receded area will always appear darker; frequently, the solution is injecting under-optics fillers to lift the shadows and plump that zone.
If you don't want to go that far nonetheless or the issue is of a unlike nature, covering them with makeup may be your best bet; although temporary, of course, this method has the reward of being easy to achieve and effective.
The goal here is to cover the color and lift that darkness by alluring calorie-free within the area.
My proposition is ever to do the eye makeup outset, and so concealer. This manner, you can make clean up whatever fallout from the eyeshadows or pencils and get a crisp line under the eye.
Merely you lot also need to be aware of the peel'south particularity hither: more fine lines, wrinkles, and sensitivity. So you demand to discover products that have enough coverage yet have low-cal consistency that won't emphasize those lines. Likewise, be careful when applying powder; you don't want to set creases in place, and so make sure the product is nice and composite, and go in with powder immediately.
Incorrect application:
Hither I will friction match my concealer with the outer corner of my brow, which comes downward. So, the production placement here won't help much with the lifting of the middle. Other mistakes that can make u.s.a. look older here are using something too dry, with a heavy consistency that will settle in fine lines.
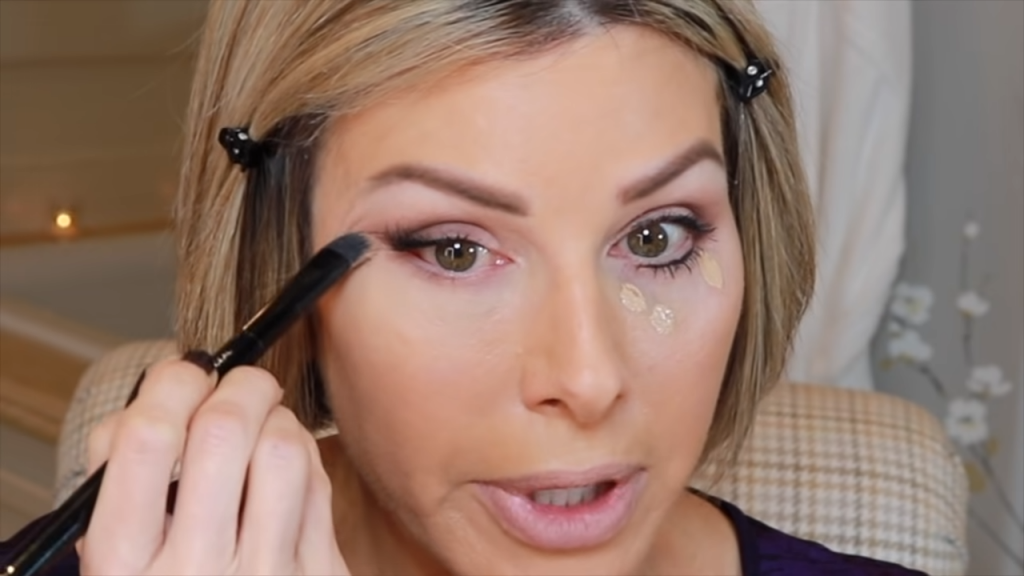
Right application:
Take your concealer underneath the eye, from the inner to the outer corner, in a swiping motion. When yous get to the outer portion, take it up and outward to match the line you created with eyeshadow. Stop only where you run into the ending of the brow.
It's a proficient idea to employ a concealer that's i shade lighter than your foundation; this will concenter light to the nether-eye area and emphasize that younger, fresh wait. Set everything with a fine pulverisation, and we tin can become to the adjacent steps.
Also check out this in-depth article most the best concealers to use on mature skin.
Recommended products:
- Tarte Shape Tape Concealer
- Laura Mercier Clandestine Brightening Powder for Under Eyes
Create Construction with Face Contour
Doing contour ways playing with shadows and light to conceal or heighten some areas of the face up.
Equally previously mentioned, we put a medium matte shade where we want an area to recede and a light shimmery one where we want a portion to stand out. Cull a medium brownish with a absurd undertone for the most natural-looking results. The face contouring method has been effectually for years merely became more popular probably in the concluding decade.
The trouble is some forget that contouring has a specific purpose and has to be placed with rhyme and reason. Doing it afterward a generic blueprint without because your item face shape and needs tin can sometimes practise more harm than good.
Wrong awarding:
As always, permit'south consider what we're working with: equally we historic period, the complexion loses elasticity and construction, then gravity begins to take its cost. Our cheekbones go downwardly, and the jawline loses definition.
A common mistake is to follow these exact features when doing profile and to go too close towards the mouth area. Information technology is a wasted opportunity to pull everything up, instead emphasizing that descendent trend of the confront. So for this sit-in, I will place my contour shade in my actual hollow, underneath the cheekbone.
Every bit expected, this will accentuate the drooping tendency of the complexion. I won't utilise product anywhere else here, just you will run across the departure on the other side of my face.
Right application:
I will place the contour shade further up on the cheekbone's edge for the left side of my face. When blending, I am pulling my castor upwards, and staying closer to the temple, instead of lowering the production towards the mouth.
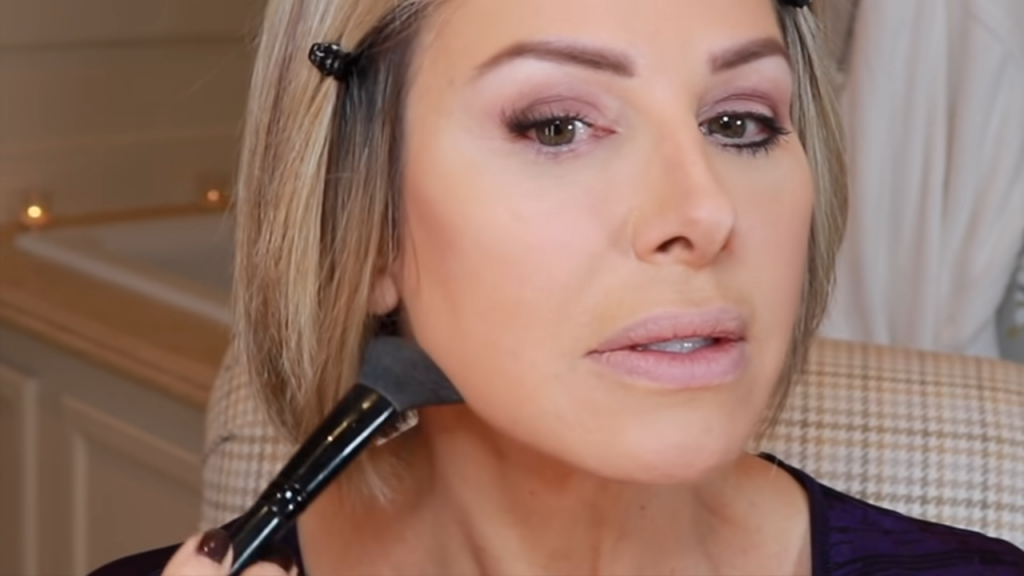
Our nose becomes more elongated when we age, then it's an excellent idea to profile right underneath information technology for a shortening illusion. I also become with my brush on the side border to slim information technology slightly.
Some other visible sign of aging is the jaw that loses that defined line. The skin begins to sag right in the middle of the jaw, and so that's a corking place to apply contour. Put your shade on the jawline, starting from behind the ear towards the mentum, and become a picayune farther upwardly on that line for a full effect. This will brand that excess skin look less evident and bring dorsum definition to this expanse.
Recommended product:
- Smashbox Step-By-Stride Contour Kit
Blush to Enliven Your Cheeks
Where blush is concerned, I believe we all demand that because it brings life back into a blank canvas that we've created with foundation and concealer.
The placement is too essential here, and I will particular it below, only so is choosing the right color. Always consider your undertone for this one – use peaches for a warm undertone, or more plum or pinkish shades, if cool; a neutral base can get away with both, so lucky you, if it's your case.
Incorrect application:
Again, for the sake of this demonstration, I volition go with my blush correct on the cheekbone and drag information technology down. I will go towards the heart of my face, using a heavy paw and, consequently, a lot of production. This is very difficult to blend and take away, so the result will be unnatural looking and sagging.
We've all been taught at a certain point to smiling and identify that blush on the apples of the cheeks. That is not the best idea, peculiarly when concerned with crumbling, because when we stop smile, that area will go too far down. Then the colour we've just placed on the apples of the cheeks will be too low, accentuating the sagging tendency.
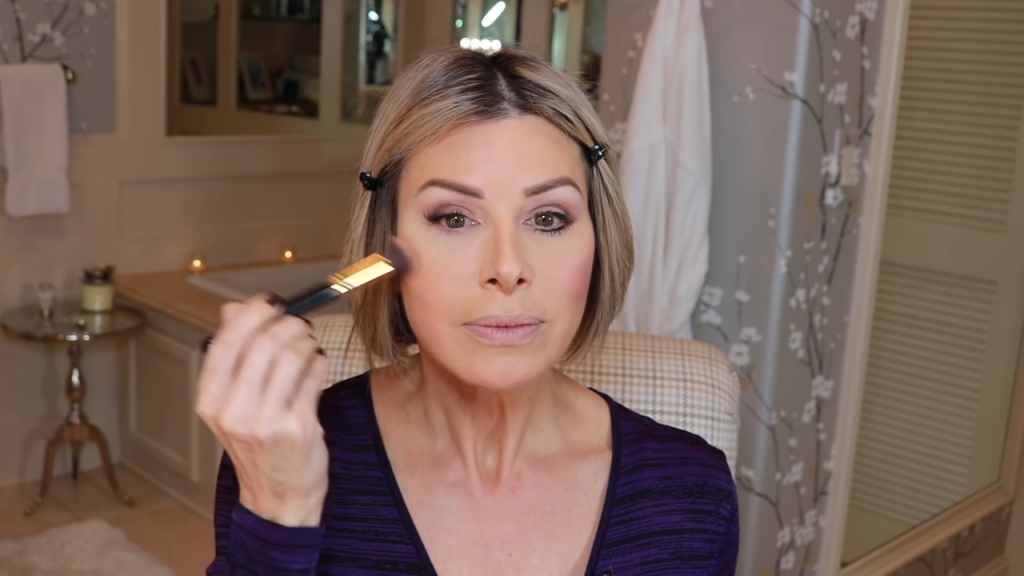
Correct awarding:
Let's practise it the correct way past placing the chroma on the very top of the cheekbones. This may seem odd to you, but by doing this, you lot pull the attention upwards, and that gives your face an instant lift.
I will get with a lighter mitt and less product on the castor; remember, information technology's always all-time to build up color slowly instead of taking it off. You lot become a more than subtle and natural effect by using this method.
I also avoid taking the blush too far down to the center of the face. The lifting issue is guaranteed by keeping the maximum intensity of the colour about the temple and flicking the brush upwards equally I blend.
Recommended product:
- Charlotte Tilbury Cheek To Chic Blush – Walk of No Shame Collection
Lips Makeup
I take a downturn line of my mouth, which is a feature I've always had, but that happens as the years go past for others. Whatsoever the example may be, accentuating that will make you look older and always grumpy, and I retrieve it's safe to say that no 1 wants that!
Y'all can e'er cheat the shape of your oral fissure with makeup, whether it's overlining to make them wait bigger, correcting an asymmetry, or hiding the downturned corners. The latter is what I'll demonstrate today, and the impact of a elementary technique is fantastic.
Wrong application:
Following the natural line is a mistake when it comes to lips, as these go down. So on the correct side of my face, I volition exercise just that and use a lip liner on my profile, all the way to that outer corner. Doing the same on the lower lip means I will complete that rounded shape that pulls everything down.
I then apply the lipstick, both products in a plum shade, to friction match the heart makeup. Our shape is now consummate, simply it'south non very flattering.
Right application:
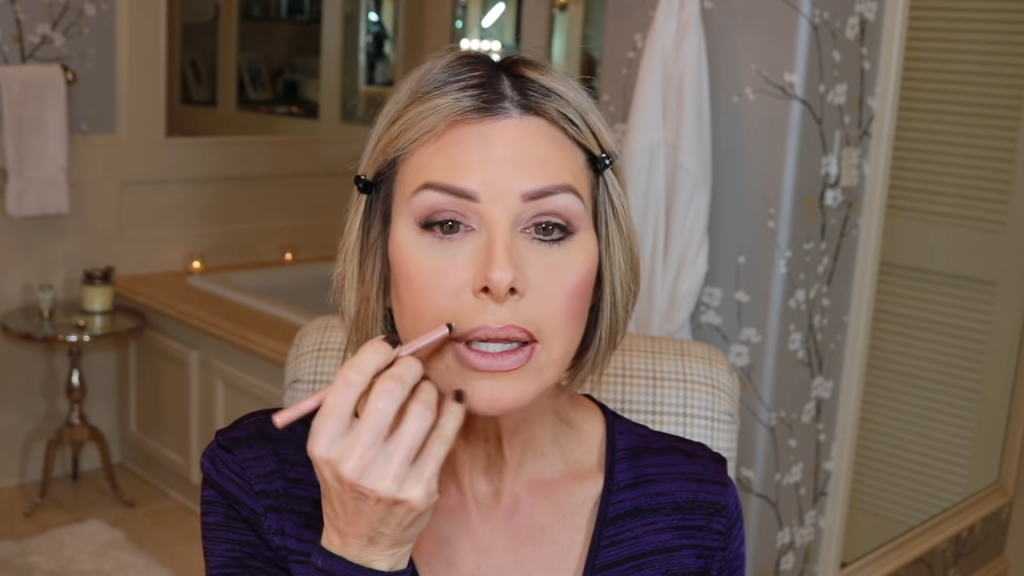
The secret to lifting the oral cavity aspect is to employ a dissimilar colour pencil. I utilise a nude one that will match almost every lipstick and cheat the shape of my lips. Simply apply the pencil underneath the natural lip line and create a signal on the upper lip, on the Cupid's bow.
Then continue that line towards the outer corner, but stop just before yous accomplish it and pull the pencil down and out. This way, you avoid following that rounded shape, pointed down. Lucifer that with the lower lip by stopping earlier the outer corner and dragging the lip liner up. Farther block that natural lip line we've merely avoided by painting over information technology with a concealer or a nude highlighter pencil.
The result, particularly when comparing the two sides, will astonish you lot!
Recommended products:
- NYX Professional Makeup Slim Lip Pencil Flossy Long-Lasting Lip Liner
- NARS Velvet Matte Lipstick Pencil
Final Result
Makeup can be a powerful tool because if y'all know how to place it just correct, it tin be transformative and have an astonishing upshot. Having those tools and skill set up ways yous tin create powerful change whenever yous cull to do then.
By comparing the 2 sides, the difference between the 2 is dramatic. On the side I've used the wrong techniques, y'all can conspicuously meet everything draws the eye downward and accentuates the loss of firmness. On the left side, everything pulls the eye up, giving the complexion a much younger vibe. The eye is more awake, and the overall await is fresh and glowing.
Makeup is often about illusion, cheating the eye into following lines, shadows, and lights that create a new reality. By applying uncomplicated only very targeted techniques, makeup tin can have incredible transformative power, and that is a cute affair.

For more makeup tutorial for mature women, bank check out my other YouTube videos and subscribe for more tips:
- Youthfull Glow Makeup Tutorial for Older Women, Over 50 – Age in Reverse:
- Mauve-lous Mom Makeover:
Source: https://dominiquesachse.tv/blog/best-makeup-older-women/
Posted by: fitzgeraldforeas.blogspot.com
0 Response to "How To Put On Makeup Dominque"
Post a Comment